Event Design

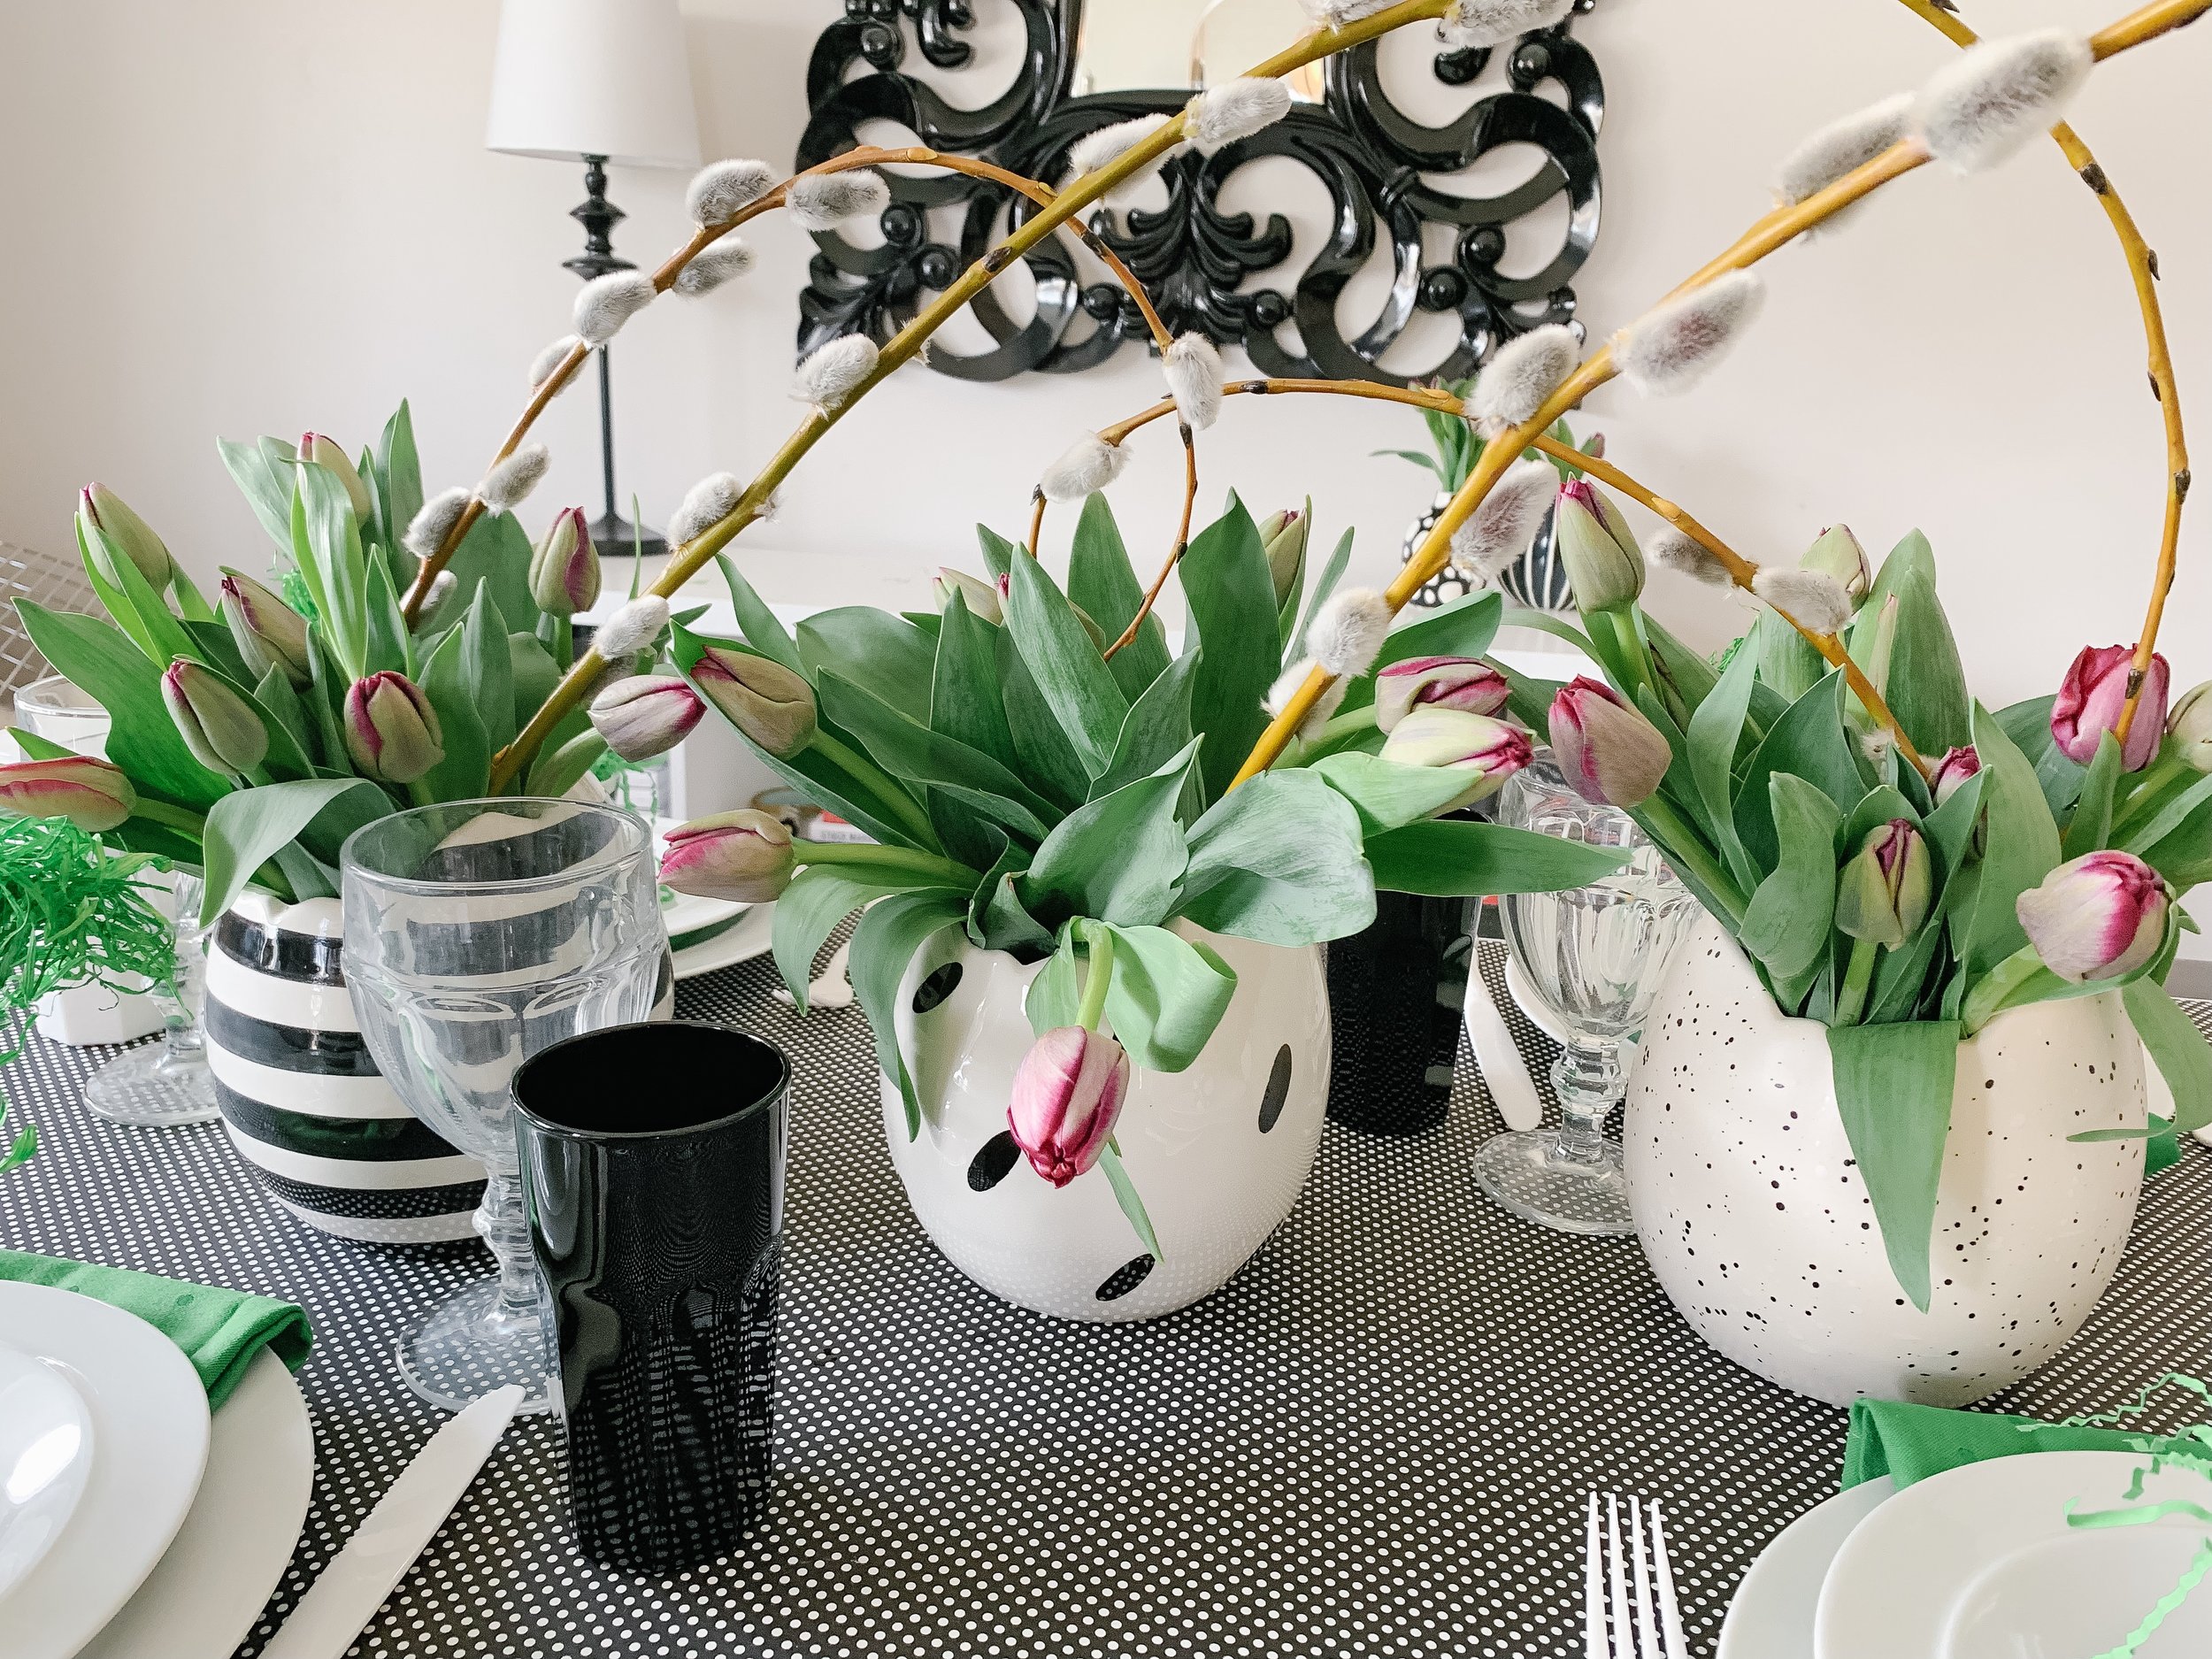
An Egg-cellent Easter Tablescape

At The Black Door Events, we are all about making our Clients and their guests feel special and we pride ourselves in fun, fresh, fabulous décor plans for every budget.  

We often hear comments like “where do you get your ideas?”  or “How do you know how to pull things together?”. As Event Planners, we have eyes for detail and lots of practise turning a random mix of items into a memorable display.  Katelyn is truly the Queen of Great Ideas not only because she keenly senses how to bring a Client’s vision to reality, but more important, how to create a vision when the Client has no idea what they want. (Barbi wrote this…thank you, Barbi! )

Today we are sharing tips to help you combine simple items in new ways to bring zing to your Easter celebrations and give you the confidence to try something new. There are no hard, fast rules other than remember to enjoy yourself!

It is said we eat with our eyes. At your next party fill your guests to the brim with your creative flair!

Here is what we started with…

Our favourite combo is Black + White but do whatever you LOVE!

  1. A fun napkin! Emerald Green is the perfect spring colour (Kate Spade From Homesense)

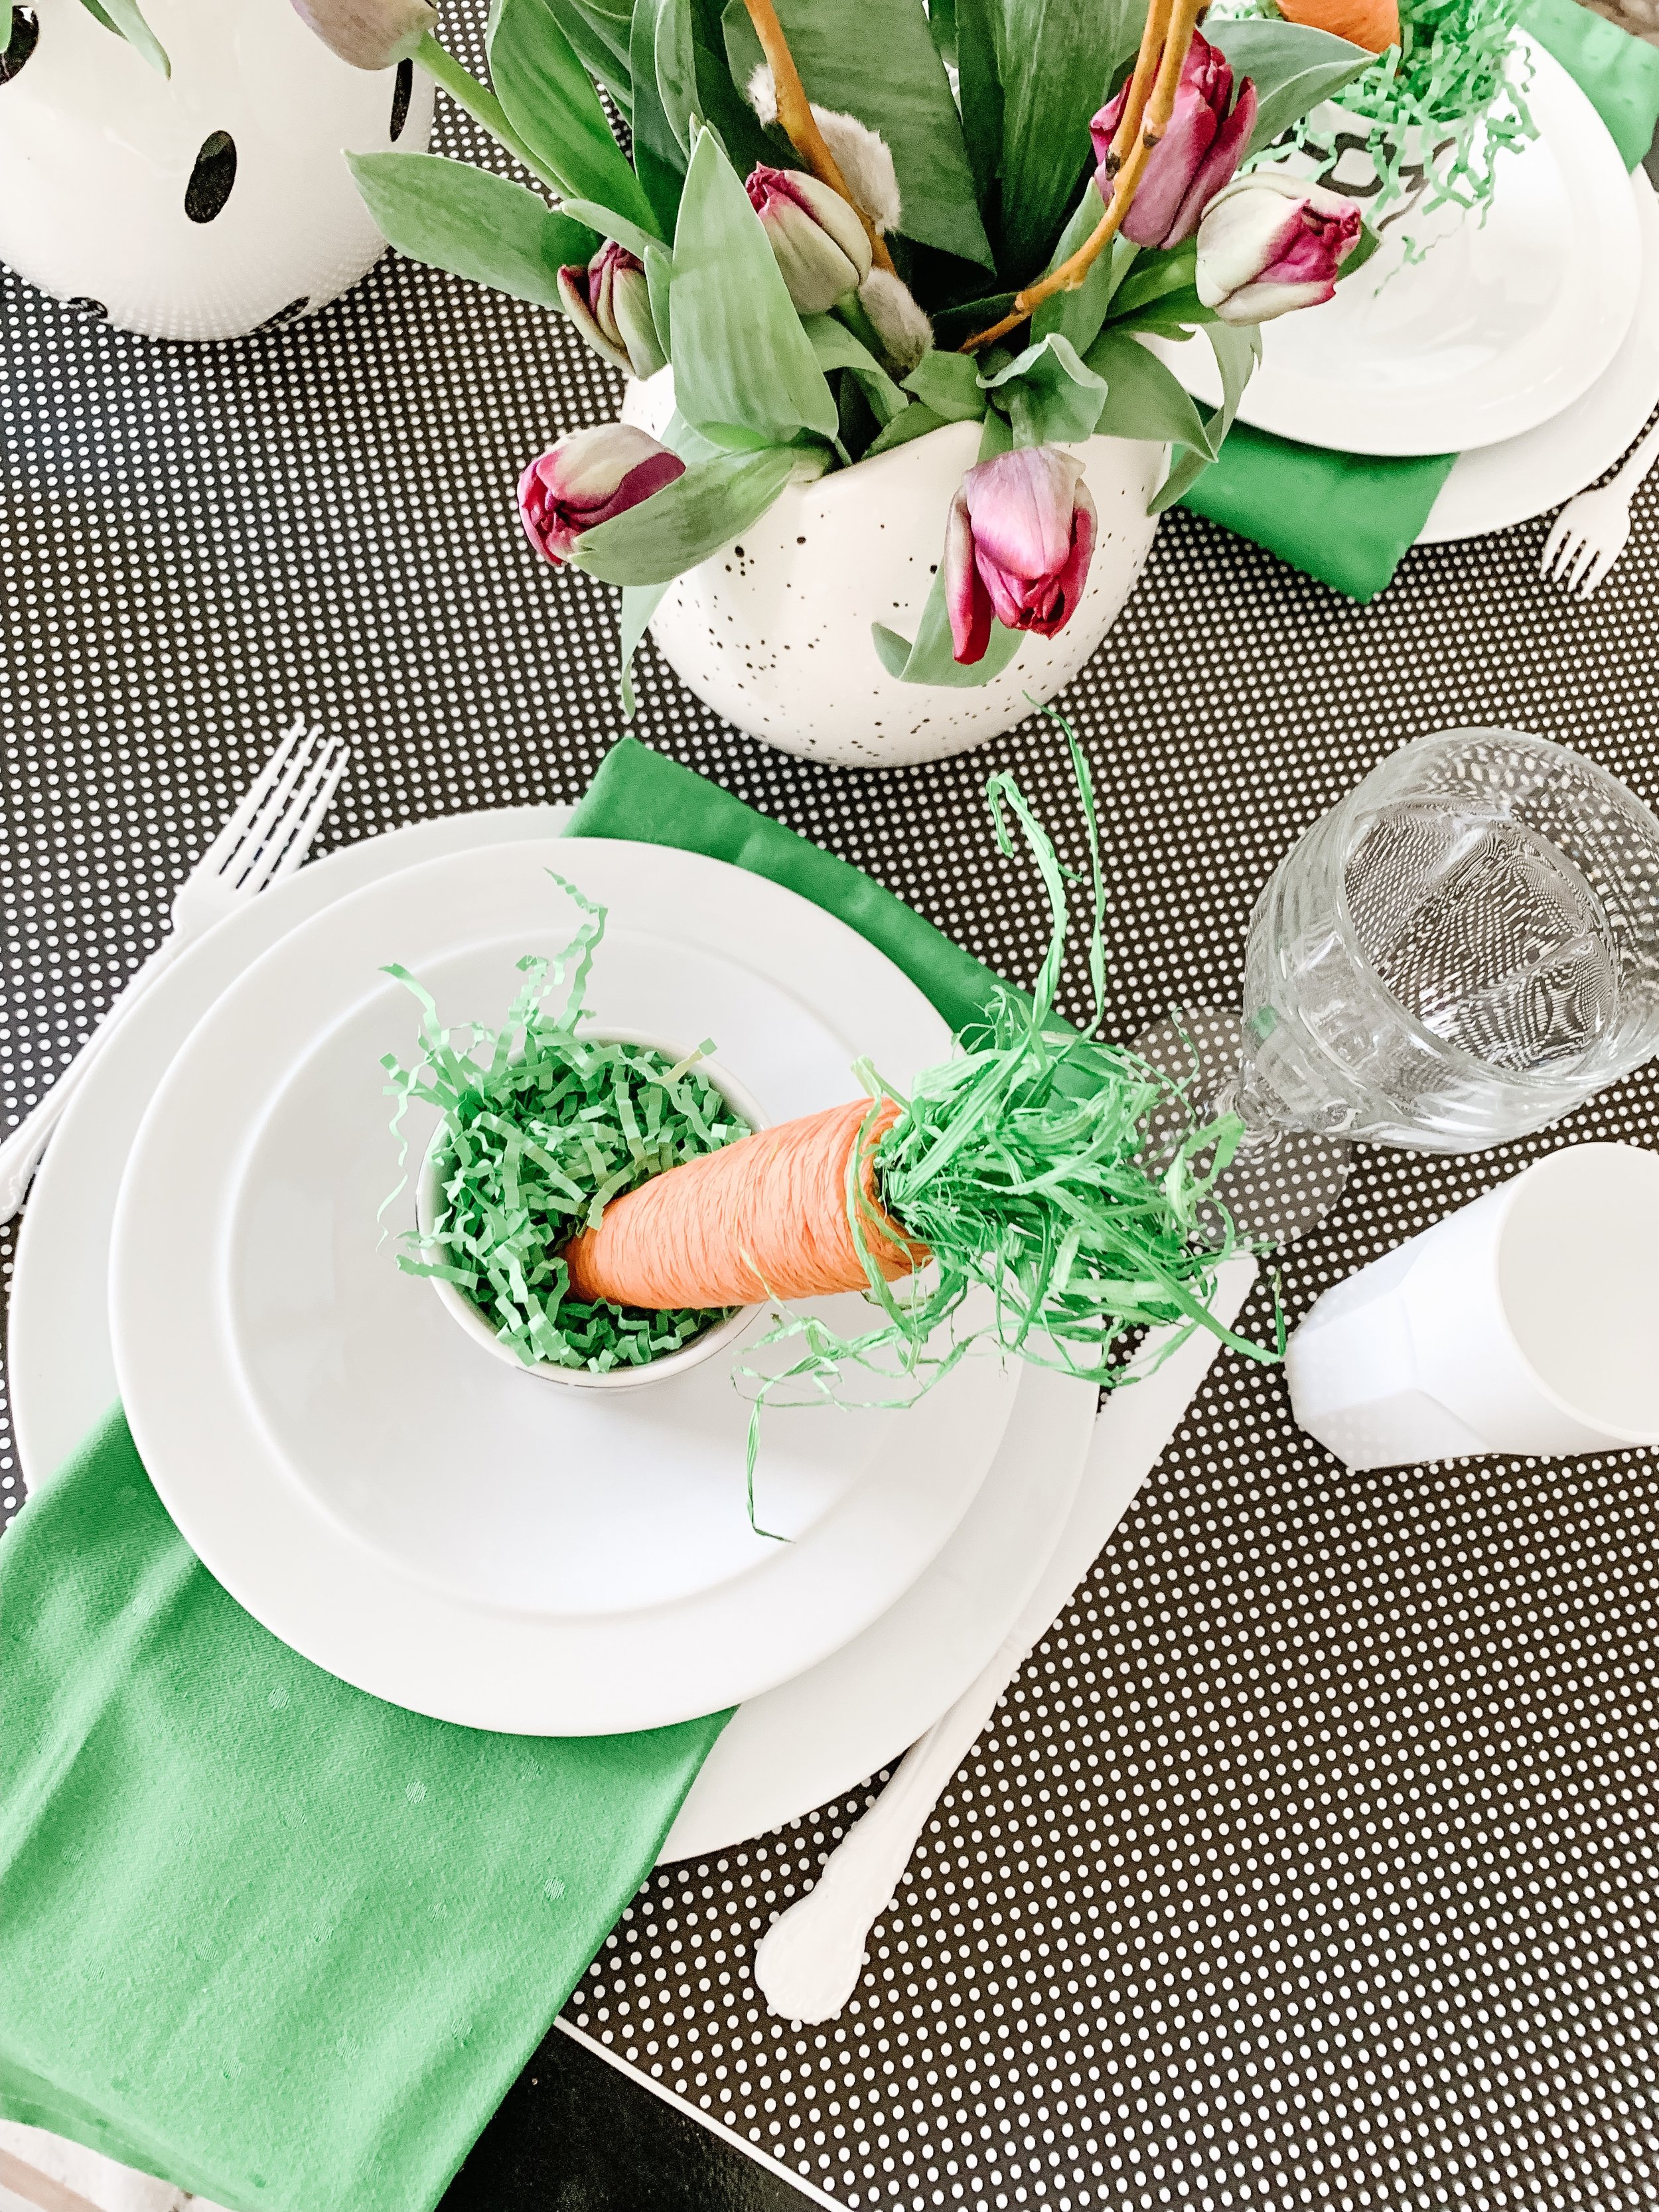
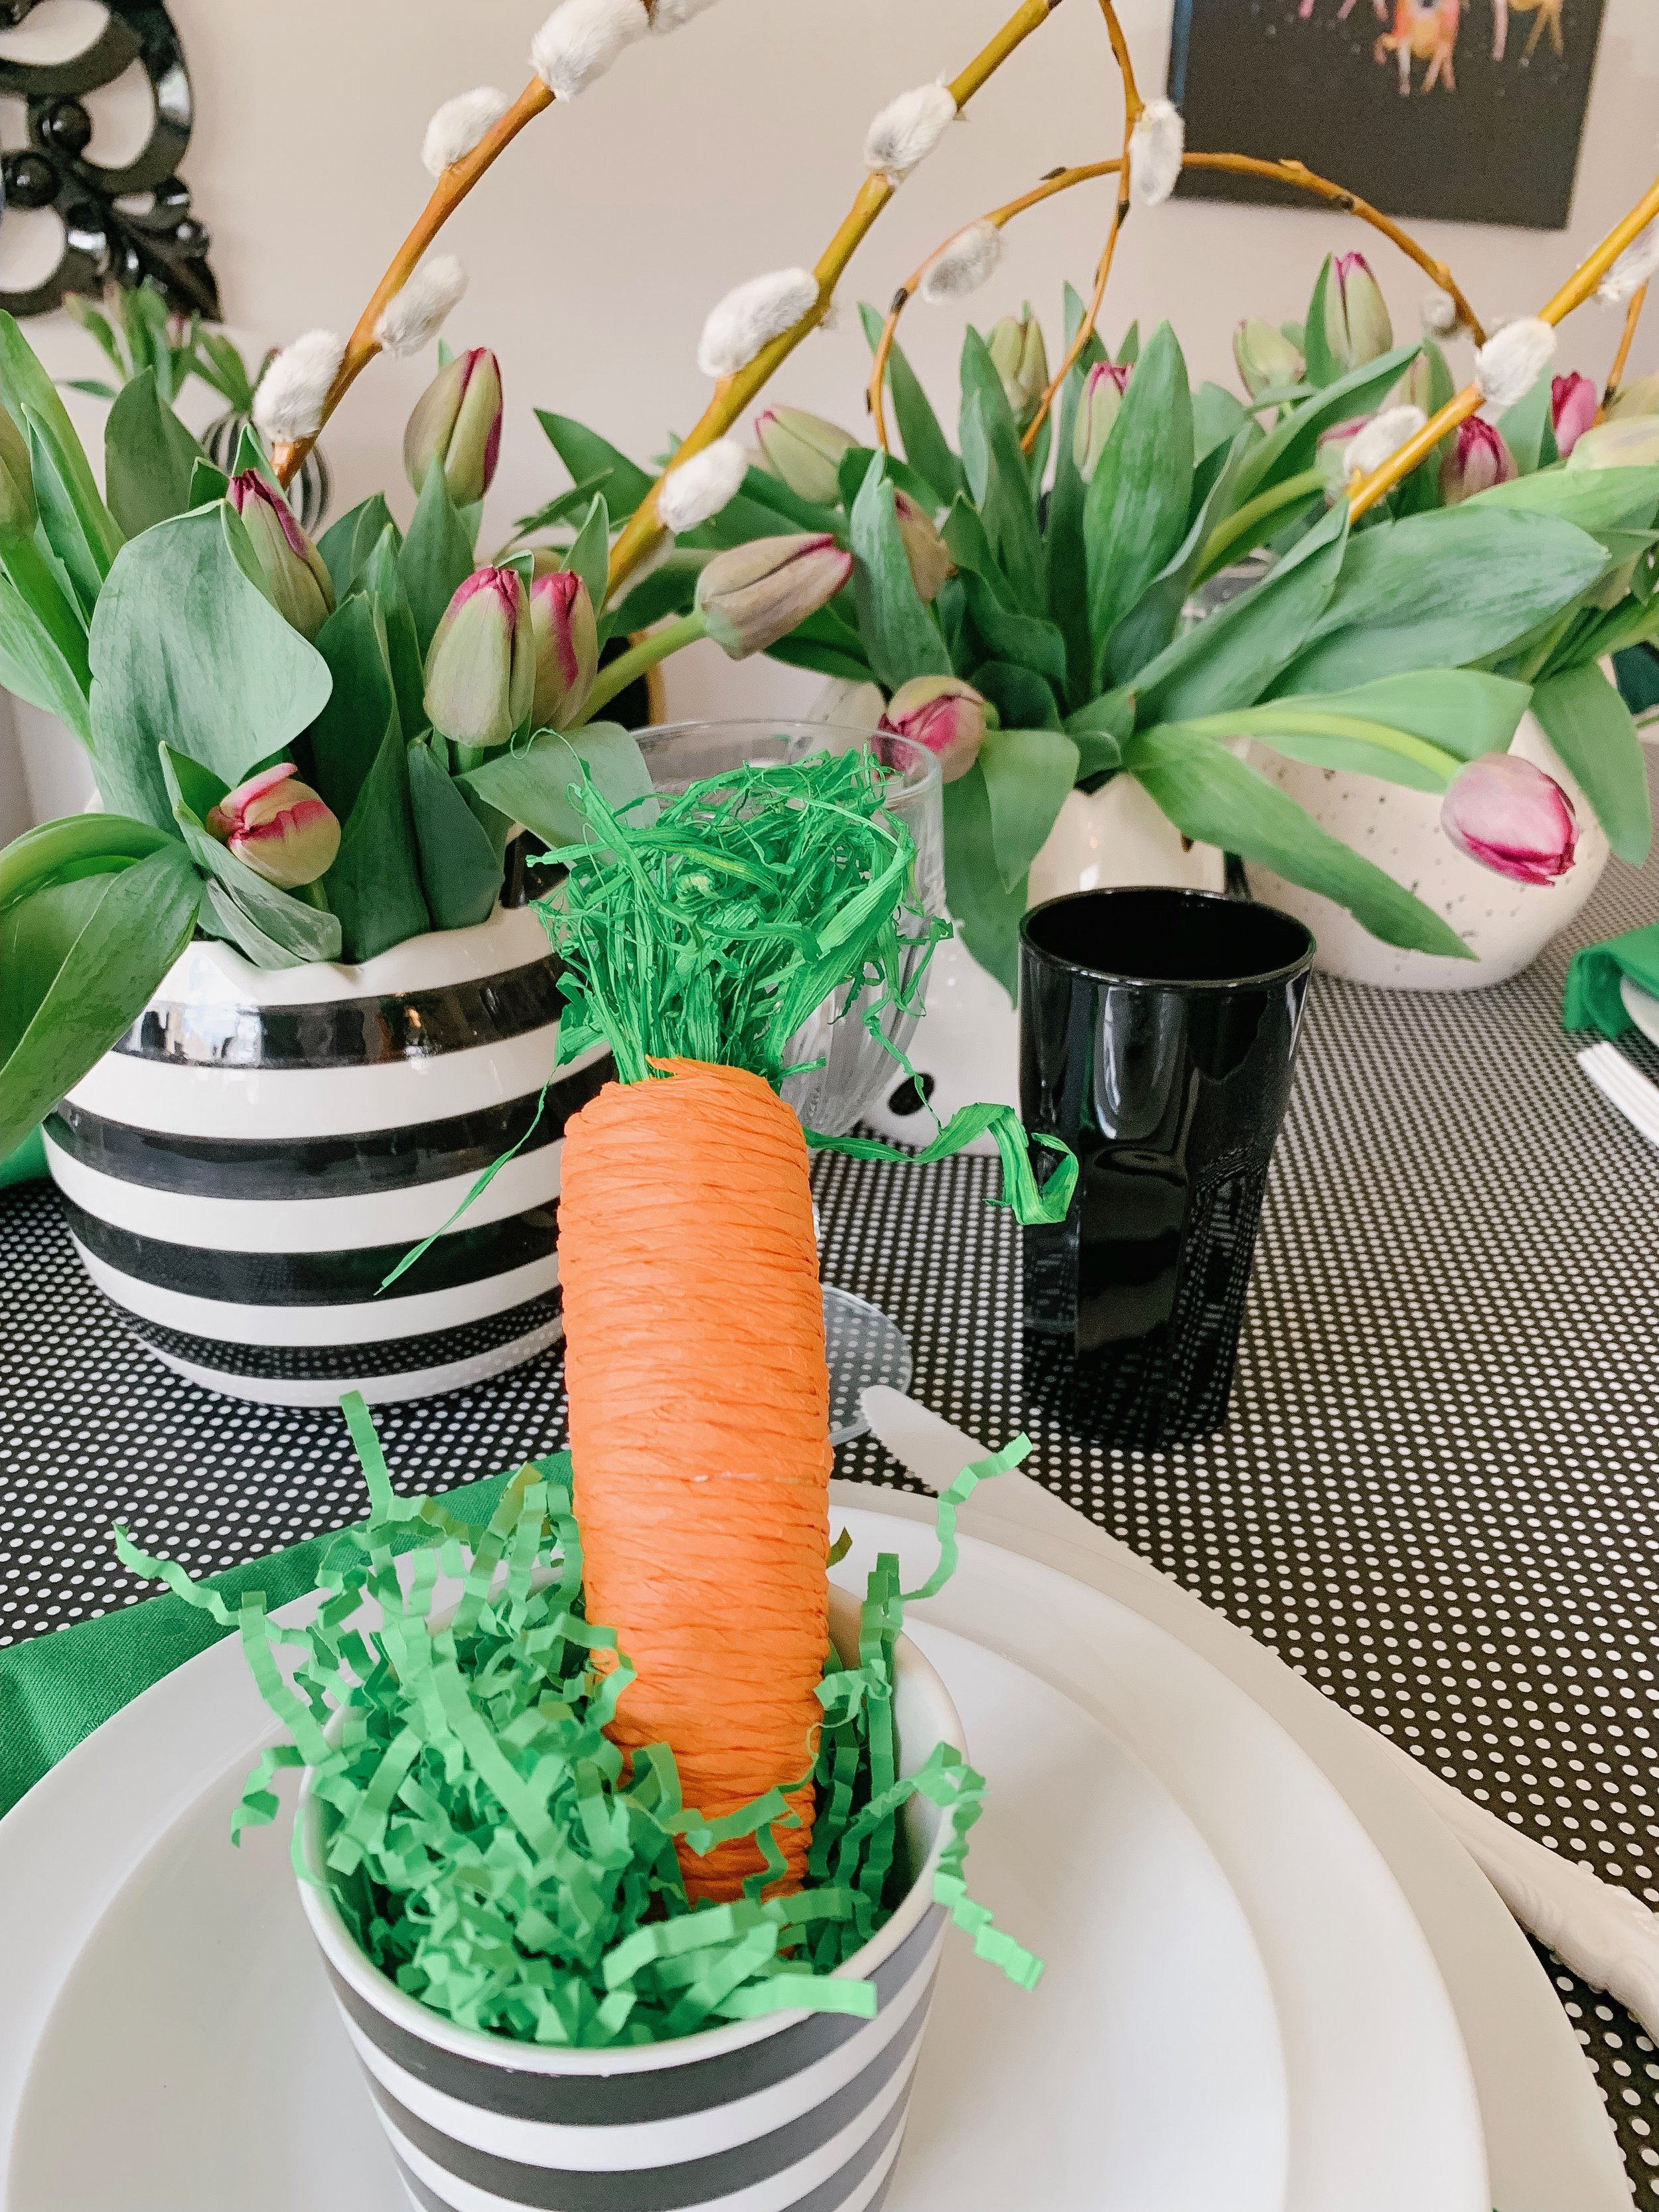
  2. Paper Carrots (Homesense)

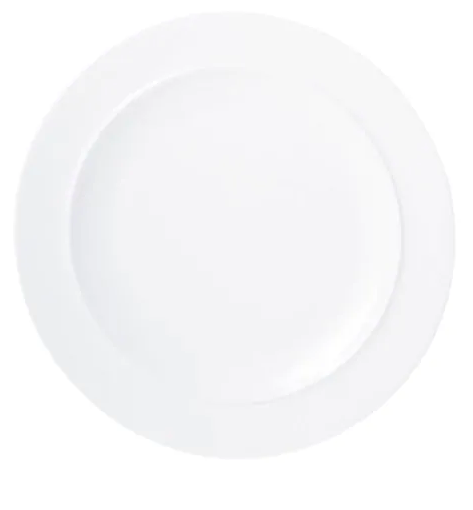
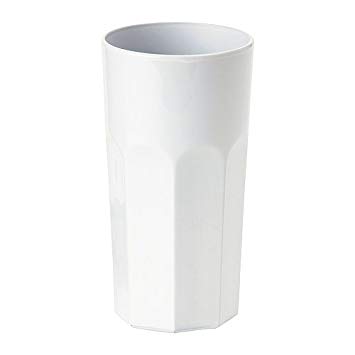
  3. White Dinnerware + Glassware / Fun Bowls / Water Goblets

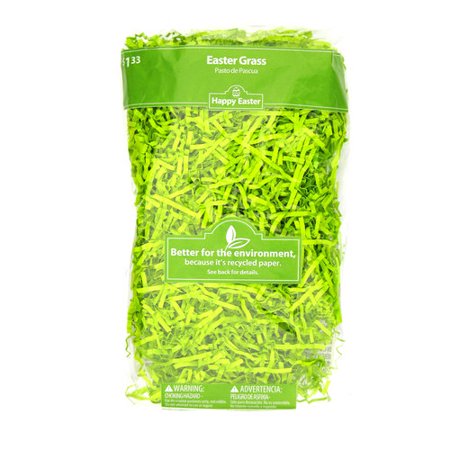
  4. RecycledGreen Easter Grass (Walmart)

  5. Black + White Polka Wrapping Paper… This is a great way to add a runner down the table! Lots of great options for a great price! (Homsense)

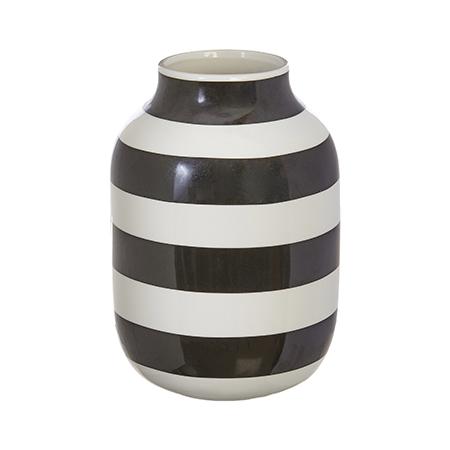
  6. Black + White Egg Vases (Homesense)

  7. Tulips + Pussy Willows (Costco + A friends backyard…Thank you, Wendy!)

And here is what you get….


It is said we eat with our eyes.   At your next party fill your guests to the brim with your creative flair!

Katelyn + Barbi

The Black Door Events

Love + Marriage

Hit Play and Read On... 

Spring means crocuses, pussy willows, robins and the start of the busy wedding season for Event Planners.

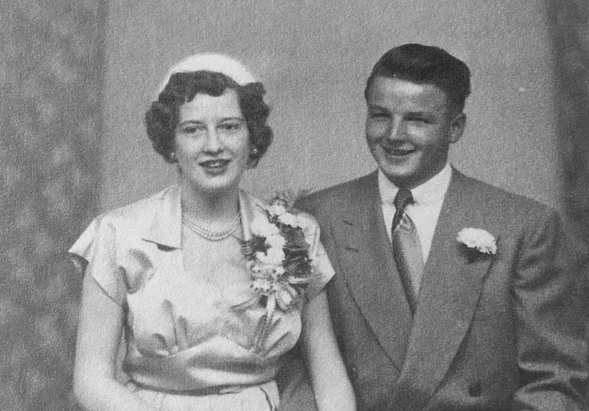
I am reminded of my parent's wedding, a simple tea in November 1953, for two 17-year-olds with a sense of urgency due to the pending birth of my sister in a few short months.  64 years later they are the most loving couple I know and an inspiration to their kids, grandkids and extended family. 

What is the key to a happy marriage?  

According to my parents:

1.  Say I love you at least once every day.

2.  Hold hands like you are young lovers.

3.  Dance like you are the only ones in the room.


No matter how big or small, your wedding day should be fun not filled with so many last minute details you don’t get to enjoy it.   Choosing to hire an Event Planner will ensure you can relax and have a stress-free, happy celebration with your family and friends. 

At the end of the day you will be married and the reward, for couples like my parents, is 64+ years of wedded bliss.

The Love Birds... 

Dollarific!!

We admit it… we love the décor deals and fun finds at our neighborhood Dollar Store.  Below are our go-to favorites for big impact on not so big budgets. 

1.  Vases 

Try them! 

  • Filled with LED lights, pomegranates, lemons, limes, mini pumpkins, or pinecones for seasonal centrepieces.
  • Grouped together to hold a variety of candies, cookies, and confections.  
  • Vary the heights of vases (3 is a good number) for simple but effective one color floral centrepieces.
  • Filled with water and topped with floating candles or submerged floral.
Large $4 | Medium $3 | Small $2

Large $4 | Medium $3 | Small $2

2.  Scoops

So simple yet so versatile and add just the right tough of whimsy.  

  • Fill  stainless steel pails with assorted salty snacks at your next party or family picnic; add a scoop and paper containers (small paper bags, large baking cups) for the finishing touch.
Metal Scoop $2 

Metal Scoop $2 

3.  Butcher paper

We are never without a roll of butcher paper in our event kit.  

  • It is easy, creative, inexpensive and super fun to  work with.  
  • Rolled out on your island, tray or serving table it is a perfect backdrop for charcuterie, desserts and themed displays.           
  • Use a sharpie to label items right on the paper.
Butcher Paper $2 

Butcher Paper $2 

Staging 101

First impressions count and when it comes to staging food for a party; the 3 simple rules below will impress both you and your guests: 

1. Levels, levels, and more levels – not the level you use to hang a picture, we’re talking varying the heights of your platters, bowls and plates using crates, boxes or whatever else you may have on hand.  Simply cover the props with fabric, table cloths or linens of some type and voila!  Incorporating levels not only adds interest, it saves space, is inexpensive and produces dramatic results.

Levels! Levels! Levels! 

Levels! Levels! Levels! 

2. Pick a theme – could be a colour, season, occasion, desserts.  Themes help you focus, add continuity and keeps your planning easy and contained.

90's Party! 

90's Party! 

3. Use old items in new ways – butcher or brown paper is one of our favorite versatile decorating tools.  Roll it out and set food right on the paper, use a sharpie to label each item.  Easy, fun and unusual. Bonus- it makes for a quick clean up! 

Treats on Butcher Paper! 

Treats on Butcher Paper!